Using Icon Views in File Explorer
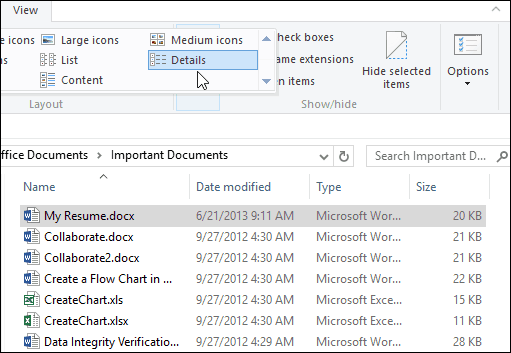
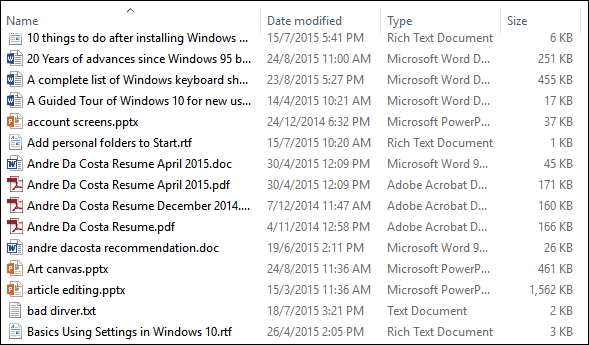
To begin, click Start > File Explorer or press Windows key + E and go to your Documents folder (or the directory you want). File Explorer uses two default views: “Details” and “Large icons”. You can toggle by using the keyboard shortcut Ctrl + Shift + 6 and Ctrl + Shift + 2. My personal favorite way to visual files is the Details view, which sorts all my files in columns by name, date modified, type, and size. Detail view lets me easily click a column; so I can group files according to any attribute.
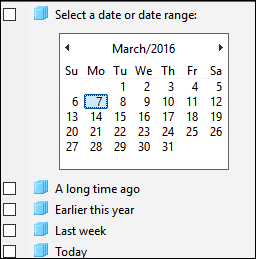
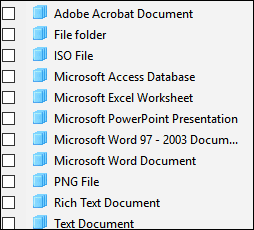
For example, if I want to view the latest or the oldest files, I can do so by clicking the column header. The name column lets you sort files and folders alphabetically. The Type and Size options groups files based on their respective application and file size on disk. Of course, these are just the basics of what you can do with your files in File Explorer. Each column header includes hidden filters, which let you dig into each file; so you can be specific about what you are looking for. The name column can filter files in alphabetical groups, date range, file types, and file sizes.
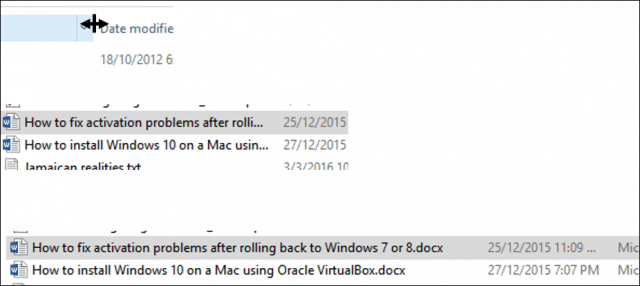
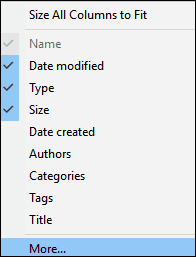
Columns widths are customizable, too. If you use long file names, you can resize the entire column manually to view a file name in its entirety. The Size Columns to Fit will automatically resize all columns so no detail is truncated.
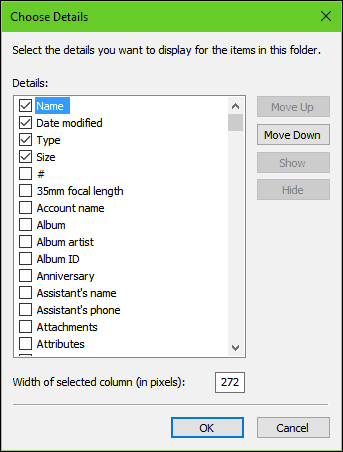
The “Details view” is not limited to just these four columns. You can choose additional columns, too. Right-clicking on the column bar reveals additional attributes to choose from. If you click “More” at the bottom, you’ll discover a smorgasbord of attributes that you can use to sort files. Including writers, SAP ERP data, Assistant name, phone number, anniversary, and more.
Icon Details
The File Explorer Layout includes eight ways to view icons that include details. Each offers options depending on the document type. For instance, Extra Large icons will be most useful when viewing PowerPoint Presentations, Pictures, and other media files.
Medium icons are focused on giving a bird’s eye view of files within a folder. This icon view works best when used with additional sorting options available in File Explorer such as Sort by and Group by. Small icons will display your icons in a columnar layout which you can read from left to right in a zig zag fashion. List view groups file in a horizontal layout, I use this often when I want to quickly find a file using my keyboard. I just select file, type a letter and immediately I am taken to that view.
Tiles view is similar to small icons; it includes additional details about the file such as the application type and size. Content view expands on these options by displaying files in a list view with other details such as author, Date and Time, file size, and tags – meta data information, which makes it easy to find files using a search query.
Working with Preview Pane and File Layouts
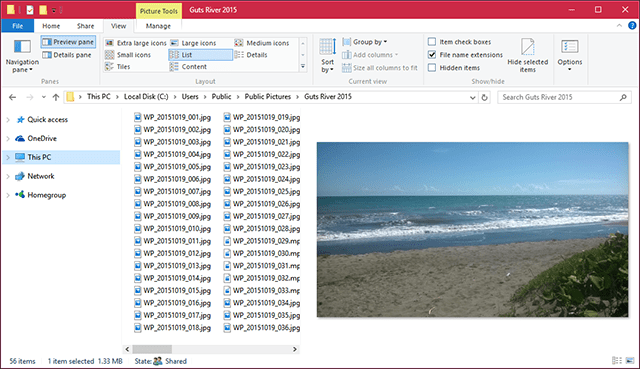
The options you choose will depend on different factors such as how much information you want on the screen, and how quickly you need to sort through it. File Explorer adds tools that help you go through batches of files quickly. For instance, a folder containing lots of images. Trying to get as much information about each file might not be possible with some of the icon views discussed earlier. However, there are other options. The Preview Pane, when combined with List View, gives you a faster way to go through a collection of pictures at a glance.
Peek Inside Files with Preview Pane
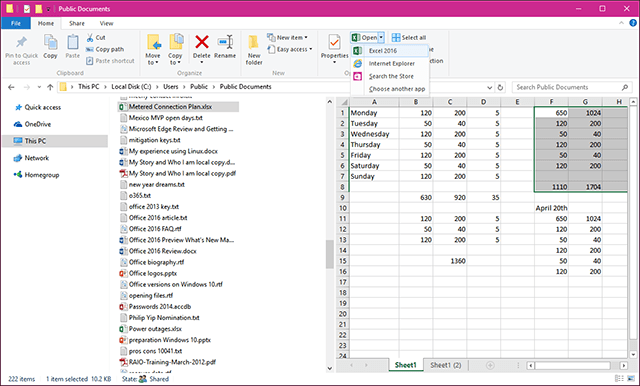
If you want to know what’s inside a Word document without opening it, you can use the Preview Pane to do so. You can preview popular file formats such as HTML documents, Excel spreadsheets, PowerPoint presentations, and PDFs. Not all applications support this feature, so your mileage will vary there. Preview, will even work with some file types that do not have the application installed.
Hopefully, these tips will help you organize and view your files in a way that allows you to be more productive. If I missed any tips that you rely on, let us know in the comments section below. Also, make sure to check out our article on how to use the Open with menu to open related files in a supported application and set defaults. Also, read our article to learn more about managing files and folders in Windows 10 if you upgraded from Windows 7. Comment Name * Email *
Δ Save my name and email and send me emails as new comments are made to this post.
![]()

