You’ll see drive letters assigned to CD, DVD, or Blu-ray optical drives, USB flash drives, SD cards, mapped network drives, and other storage devices. You can find the assigned drive letter by opening File Explorer and finding the device. If you want to remove a drive letter on Windows 11, follow the steps below.
How to Remove a Drive Letter on Windows 11
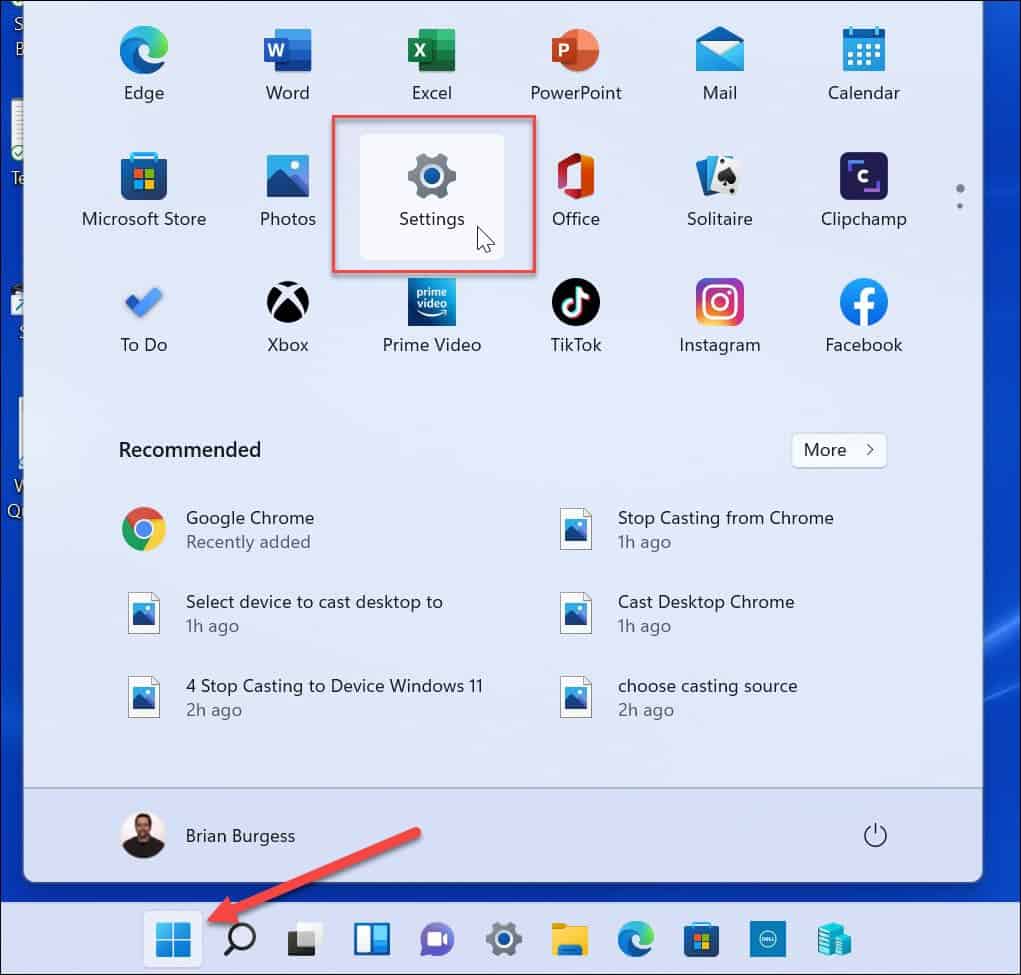
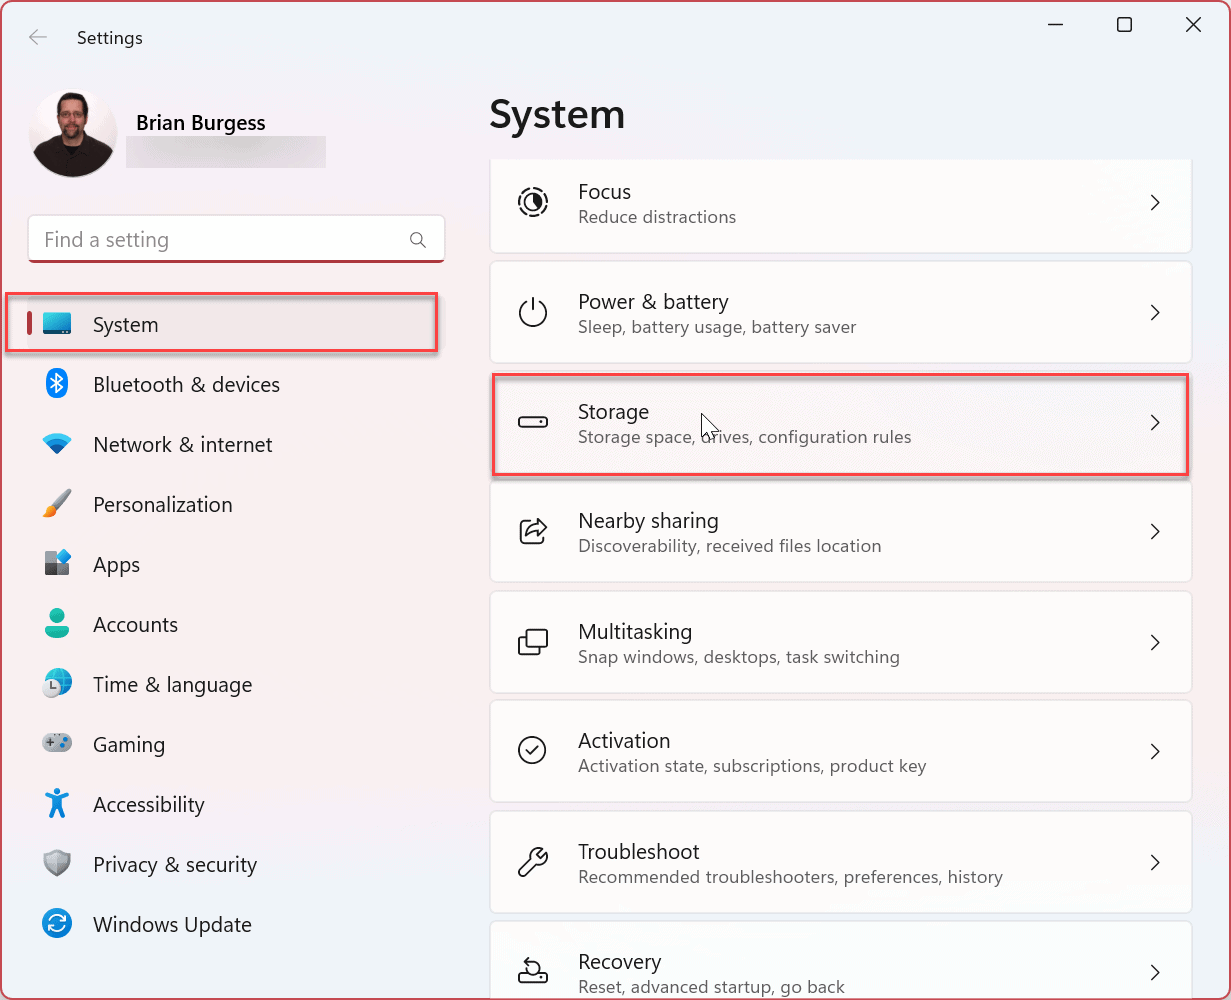
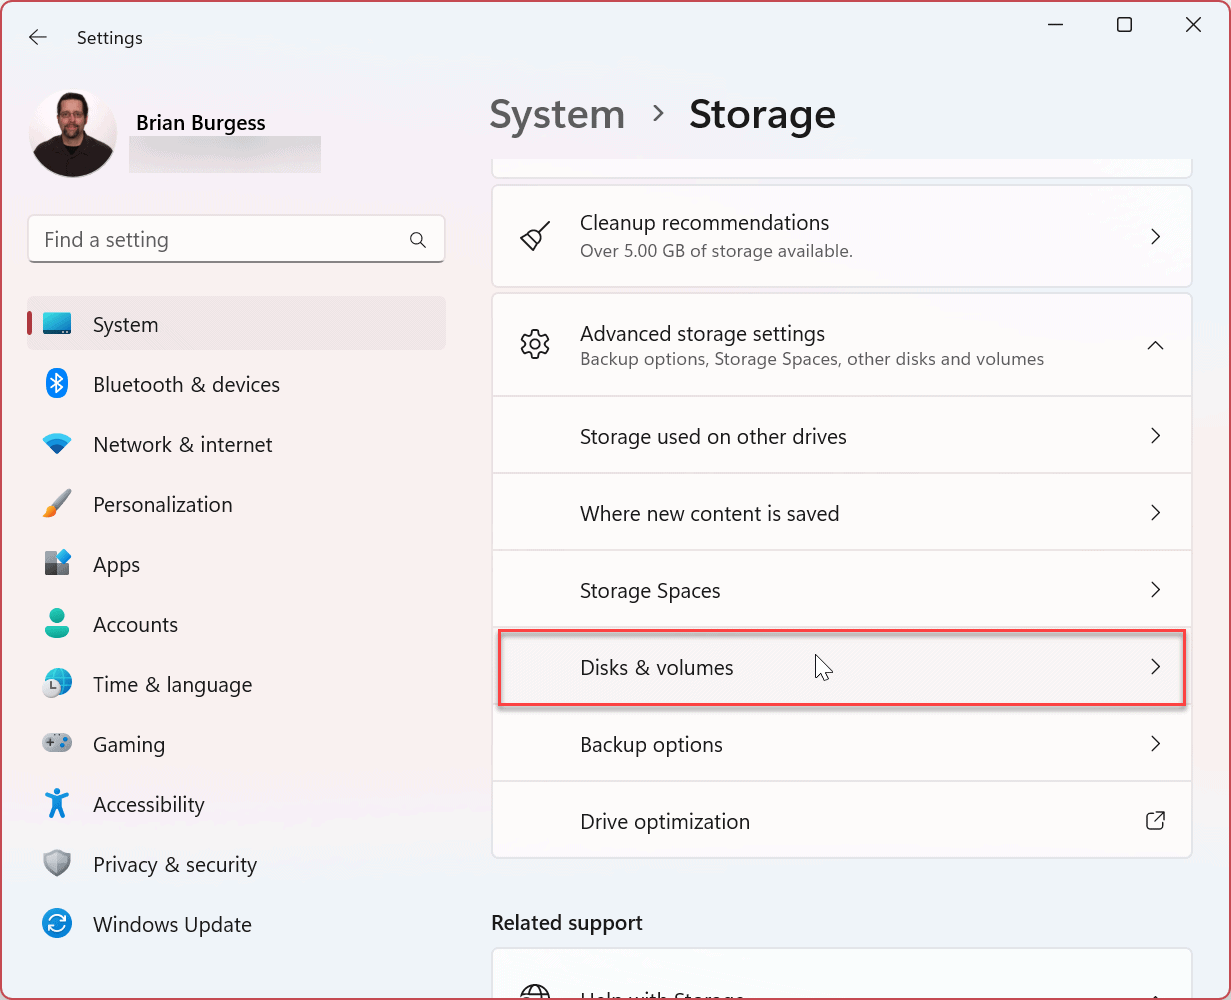
Windows 11 automatically assigns a drive letter to each connected device — including network drives. But if you aren’t changing the letter, you may need to remove a drive letter on Windows 11. Perhaps you want to keep a drive hidden for users on the system, or Windows might have assigned a letter to a hidden boot partition by mistake. There are a few different ways to do it. You can use the Settings app, Disk Management, or PowerShell. We’ll start with removing a drive letter via Settings. To remove a drive letter via Settings on Windows 11:
How to Remove a Drive Letter on Windows 11 Using Disk Management
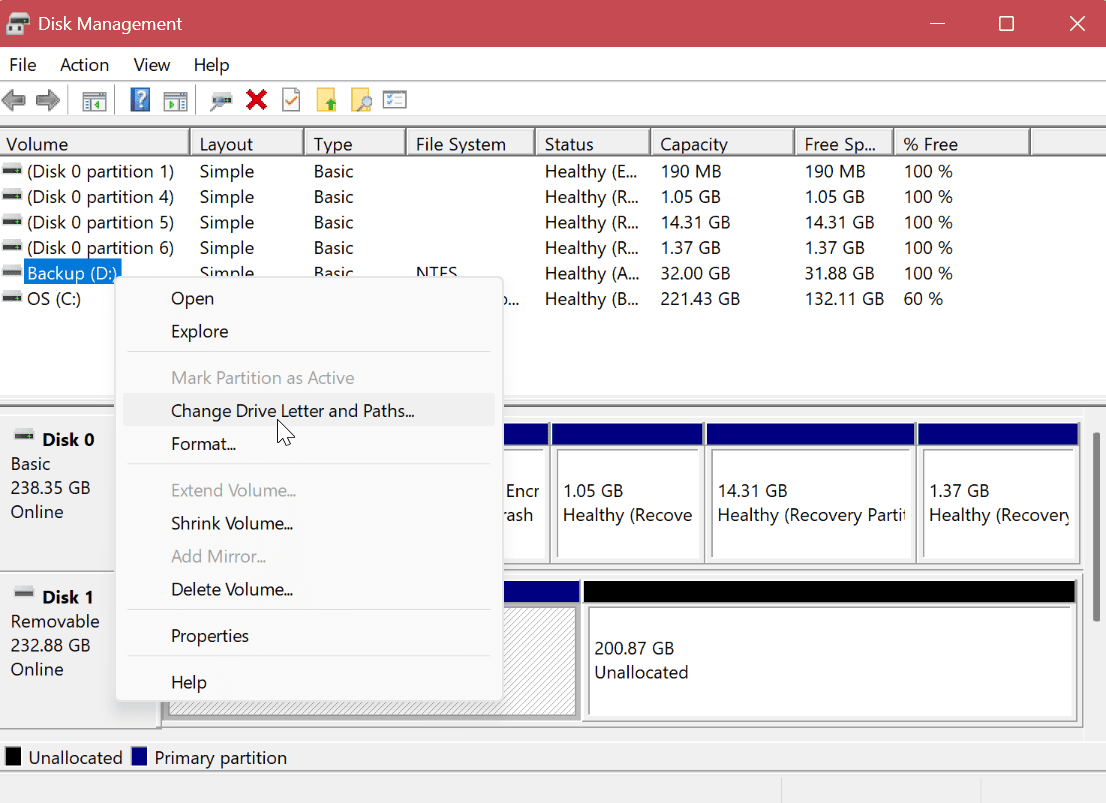
If you don’t want to use Settings to remove a drive letter, you can use the familiar Disk Management utility instead. To remove a drive letter with Disk Management:
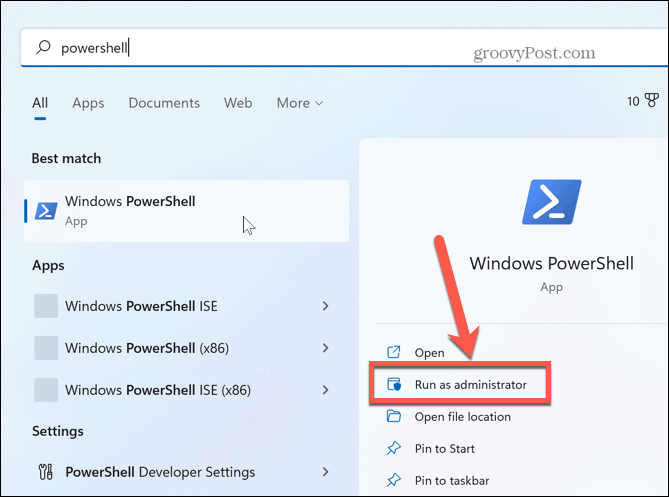
How to Use Windows PowerShell to Remove a Drive Letter
If you prefer to manage your system via terminal commands, you can use PowerShell to remove a drive letter. To remove the drive letter on Windows 11 with PowerShell: After running the final command, PowerShell removes the letter from the drive you selected and makes it inaccessible.
Managing Drives on Windows 11
If you need to hide a drive on your PC or hide it for other reasons, you can remove a drive letter on Windows 11 using one of the options shown above. And while you’re working on drive assignments, you may need to change a drive letter too. And for additional help, read about six ways to open Disk Management on Windows 11. There are other tools you can use on Windows 11 to manage your drives. For example, you may need to free up space on your device by limiting the space used by Recycle Bin. If you want to ensure your local drives have more space, Windows 11 will give you cleanup recommendations. Another helpful feature for freeing up disk space on Windows 11 is by using the Storage Sense tool. Another disk annoyance you may experience is when Task Manager shows 100% disk usage. If you experience that on your PC, learn how to disable Superfetch on Windows 11. Comment Name * Email *
Δ Save my name and email and send me emails as new comments are made to this post.


![]()
