The setup is fast and straightforward, so let’s begin.
Step 1 – Getting Chrome Portable
To start, you’ll need to download the Google Chrome Portable extractor. After downloading, plug in your flash drive and open the downloaded file. Once the little extraction window pops up, you’ll need to enter the location where you’d like to extract Chrome. Apparently, that would be your flash drive, so go ahead and navigate there (example below.)
Step 2 – Changing Google Chrome’s Language
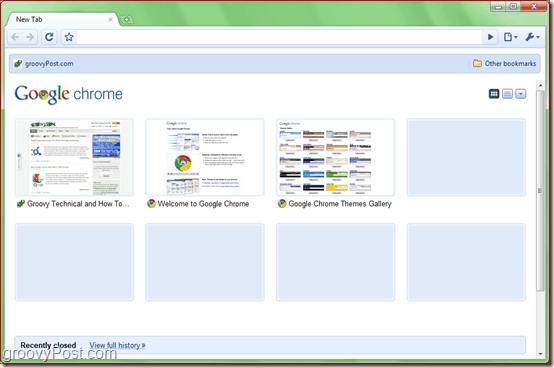
Once you start Chrome from your flash drive, it may not be in your language. To set a different language follow these instructions (below – screenshot of Chrome Portable running in English.)
Step 3 – Setting Up Google Chrome
If you want to import all your saved passwords, cookies, most visited pages and other settings, just copy the files from C:\Users\Your Username\AppData\Local\Google\Chrome\User Data and paste them into Your Flash Drive Letter:\Crome Portable\Data\profile. If Windows asks you whether you want to replace the files, check the small box “Do this For The Next * Conflicts” and then click on “Copy and Replace” (example screenshot below.) Note – If you’ve been using Google Chrome on your PC for a long time, then the files you’ve gathered on your PC may just exceed 700 megabytes – so prepare yourself for a LONG copying process.
Alright! Done! Now, no matter what computer you go to, as long as you’ve got your flash drive, your browsing experience will make you feel like home. Now you need to explain the drop box version! Comment Name * Email *
Δ Save my name and email and send me emails as new comments are made to this post.


![]()
