Move Data from Windows Phone 8 to PC
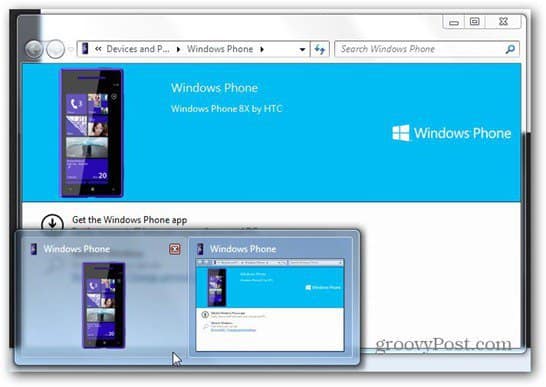
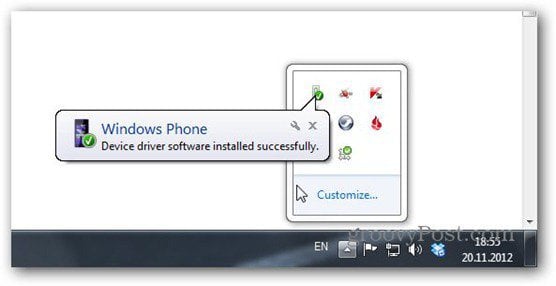
First, just connect your Windows Phone 8 smartphone to your PC. Your smartphone will be detected and the driver will be installed. Here I’m using Windows 7, but it’s virtually the same in Windows 8.
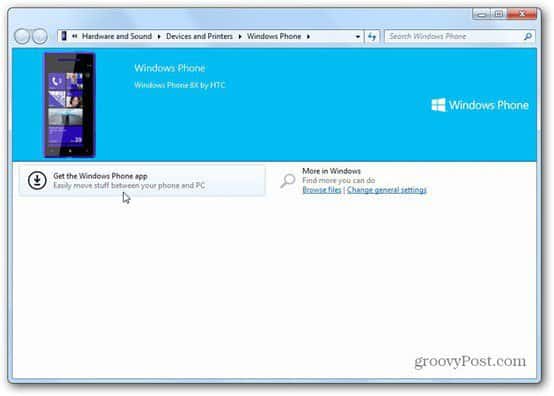
After the phone is detected, you’re prompted to install the Windows Phone app.
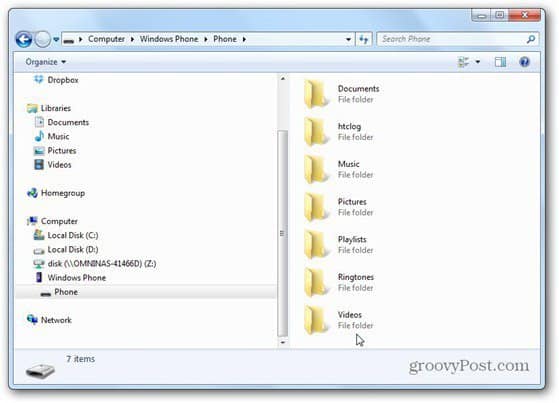
If you don’t want to install the software, it does allow you to browse the files on your phone in Windows Explorer as well. The Windows Phone software does make things easier though and provides you with additional features.
On the Windows 8 desktop, that might not work automatically, so this is the direct link. Then you can download the app.
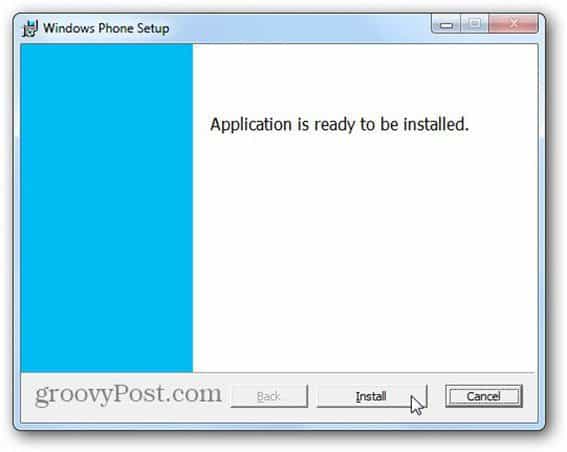
Install the app just like you would any other Windows application — a couple of Next’s and approvals and you’ll be there.
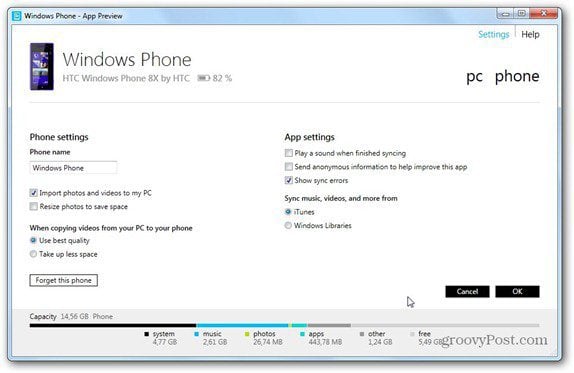
After installed, the first window that comes up is where you can name your phone, import photos, videos, and music from iTunes and Libraries on the PC. I remember Jessica Alba saying, during the Windows Phone 8 launch event, that she had switched from an iPhone and it didn’t take long to move her playlists. Looks like she was correct.
Next, you’ll get this Windows 8-style window where you can select which content to sync. The right side allows you to switch between managing content on the PC that should go to the smartphone and vice versa It’s a bit confusing at first, but you’ll get easily acclimated to it.
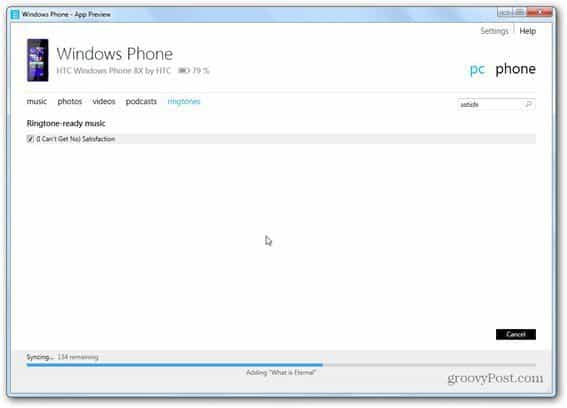
It all works very fast and another groovy feature is in the ringtones tab. Here you can select the music tracks you want to use as ringtones. Take that iTunes!
If you click the phone link at the top right, you’ll be able to choose which content from your smartphone gets synced to the PC. Just check what you want, then click Save to PC. You can also delete content directly.
The settings menu also hides some groovy things. For example, you can choose the quality type for videos copied from PC to the phone. This is handy if you have a phone with a limited amount of storage space. You can also choose whether photos should be resized to save space too.
Don’t think about drag & drop functionality with the app, as there is none. But you can most certainly use the iTunes and Windows Libraries efficiently. Dan Comment Name * Email *
Δ Save my name and email and send me emails as new comments are made to this post.


![]()
