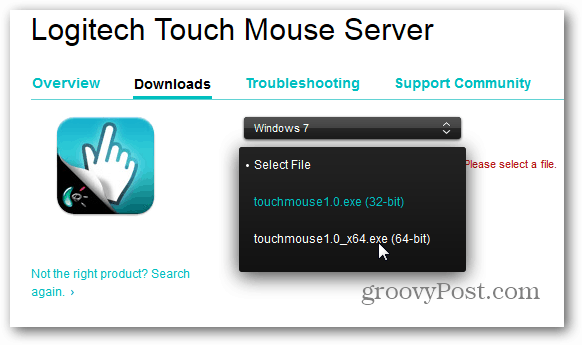
For this method to work you do need to have your computer and iDevice on the same network. First head to the Logitech site to download the Touch Mouse Server. Select your OS. Here I’m going to use my Windows 7 64-bit system.
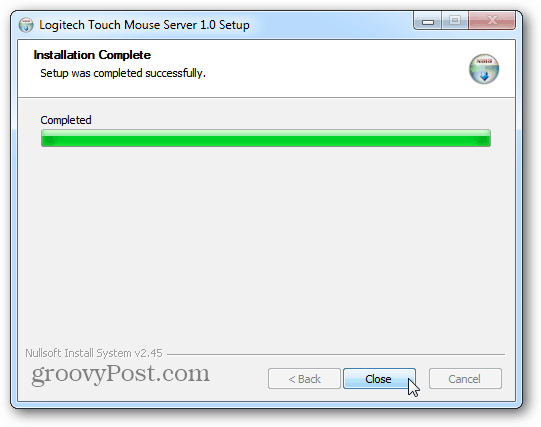
Installation is straight forward following the wizard. You’re done in three mouse clicks.
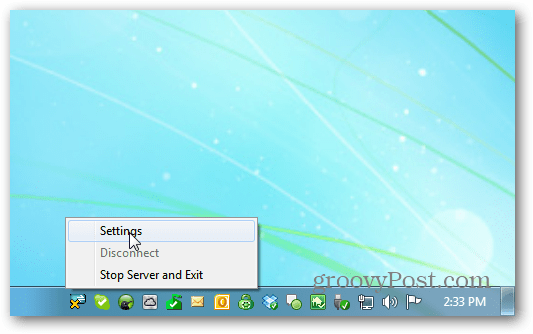
Once installed, the Touch Mouse Server has an icon that lives on your system tray.
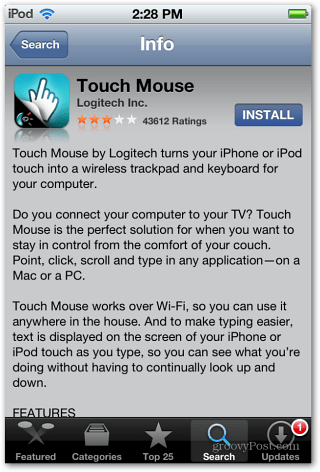
Next, on your iPhone or iPod Touch, download the free Touch Mouse app from the iTunes App Store. After it downloads, launch Touch Mouse.
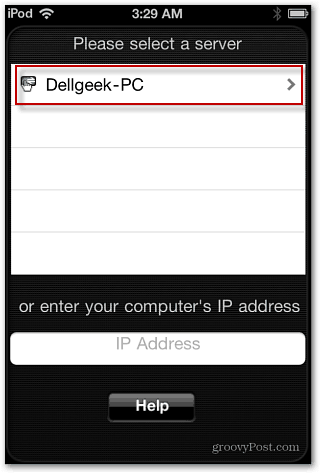
Now you’ll see your system listed on the menu. Tap on it to connect to the system with Touch Mouse Server. Now you can use your iDevice as a mouse.
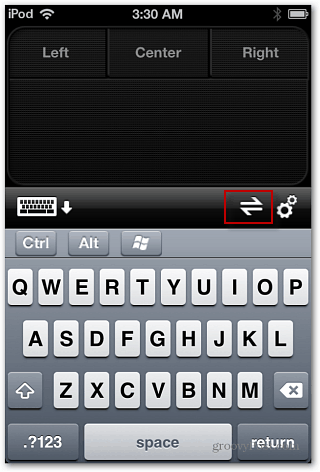
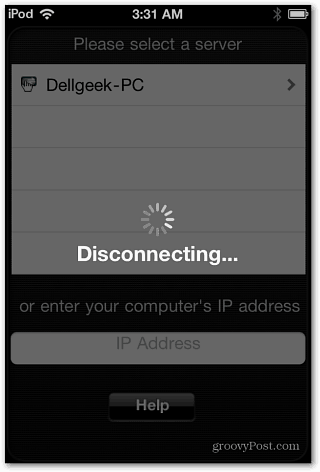
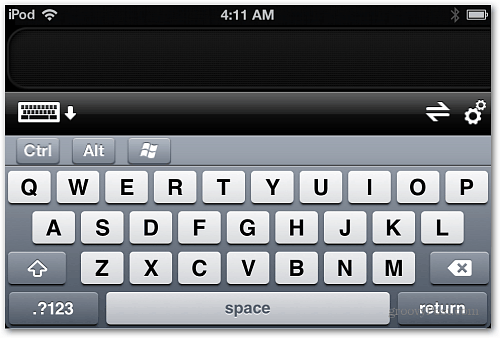
Tap the keyboard icon to start typing on your PC from your iDevice. Tap the Disconnect icon to disconnect from the computer your using.
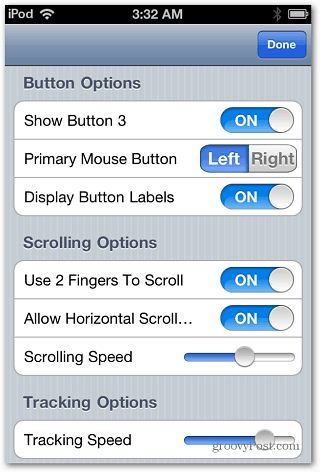
Tap the Settings icon to adjust how Touch Mouse works. There are some interesting settings that make it easier to use. The settings I adjust the most are Tracking and Clicking options. There are several to explore. Try them out to see what works best for you.
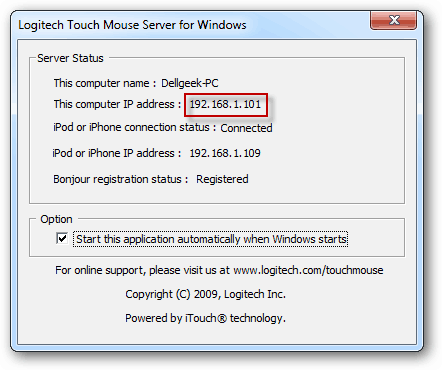
If you’re having problems connecting, bring up the server settings on your computer. It brings up a windows that shows the IP address of your computer.
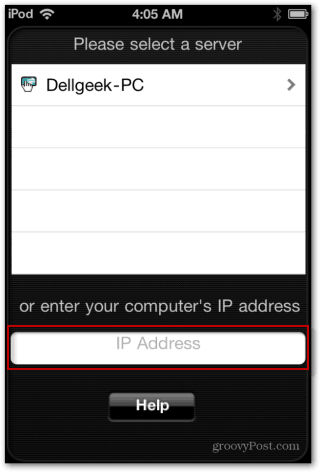
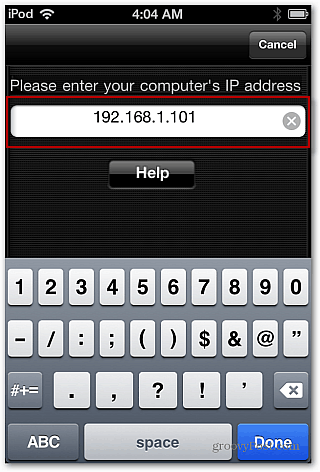
On your iDevice, tap the field under Enter your Computer’s IP Address. Then enter that IP address displayed on the Touch Mouse Server screen. Click Done.
If you’re a thumb typist, you can use it in landscape mode too.
This is a cool setup if you want to control your computer while kicking back in your office chair. Or if you’re using it with your HTPC or give PowerPoint presentations. that’s a really cool idea and features. Do you know if there are any known security issue with this set up Comment Name * Email *
Δ Save my name and email and send me emails as new comments are made to this post.
