Merging to HDR
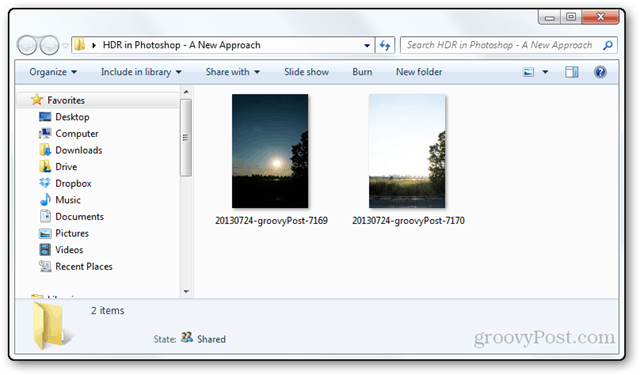
We’ll be using layer masks and some other adjustments to achieve the HDR effect. I have my two photos ready as follows – under and overexposed.
I’ll drag the first one into Photoshop.
And then drag the second (overexposed image) on top of it.
Press the Enter / Return key to place the image after you see these guides. Make sure the images are placed on top of each other correctly.
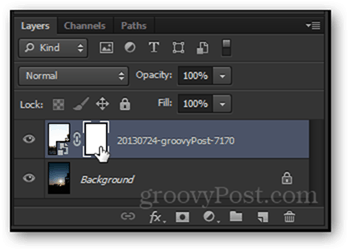
From the Layers Panel, make sure that your top layer is the overexposed image. While this is not 100% mandatory, it does make things a bit easier.
To begin adding the HDR effect, add a layer mask to your top layer. To do this, have the top layer selected and click the Add Layer Mask button.
You should get something that looks like this.
Now mask out that unwanted overexposed sky and keep the lower part of the image. Begin by selecting a black foreground color and a white background one or vice versa.
Pick up a Gradient Tool (G) and select the first gradient — Foreground to Background.
Left click on your Layer Mask a single time to make sure it’s still selected.
Then drag out your gradient depending on which areas you want to keep. The black areas of the gradient become transparent, and the white ones remain.
Your layer mask will look something like this:
You’re already done! If you like the results, you can stop here and hit up a quick Ctrl + Shift + S to quickly get to the Save As dialog.
If you want to improve your image even further, however, you can use adjustment layers to bring out even more wow-factor out of your image. Try a brightness and contrast layer for starters.
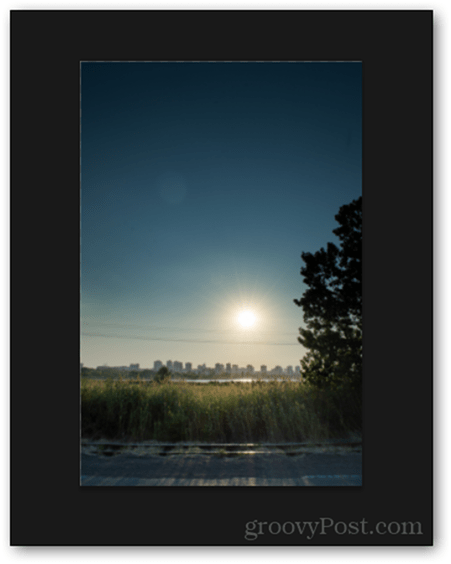
Here’s how the layers panel looked like for me after my final adjustments.
And here’s the image itself.
You can always get creative and try out different looks, effects and filters. But watch out – HDR is tricky to master, so don’t overdo your creativity.
Here’s a look at the step-by-step screencast I created to show you how everything flows:
Comment Name * Email *
Δ Save my name and email and send me emails as new comments are made to this post.


![]()
