Remove Recently Added Apps
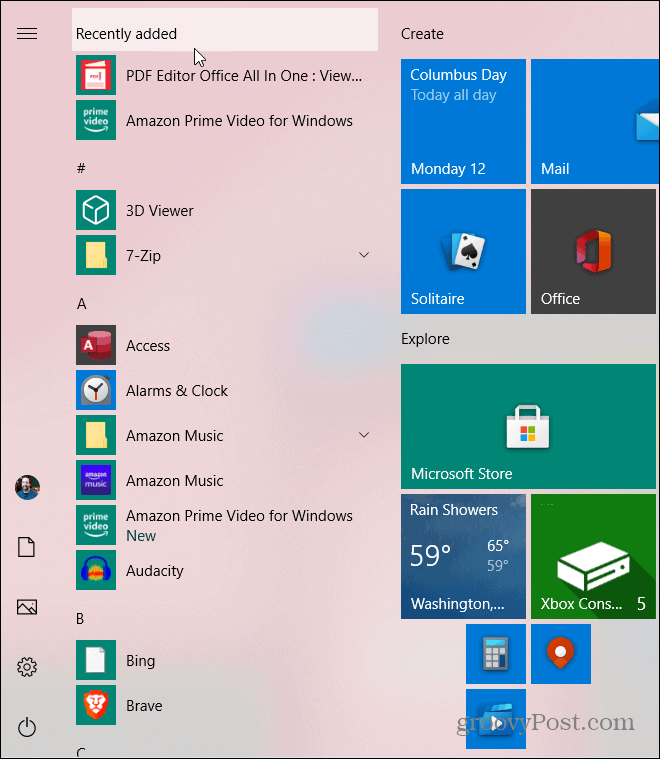
When you launch the Start menu you will see a “Recently Added” section at the top of the apps list. It displays the names and icons of apps you installed recently.
To hide the Recently added section you need to open Windows Settings. You can get there by clicking the Gear icon in the Start menu or use the keyboard shortcut Windows key + I.
Once you have Settings open click on Personalization.
In the Personalization section click on “Start” from the column on the left sidebar. Now in the Start section of Settings turn the “Show recently added apps” switch to the Off position.
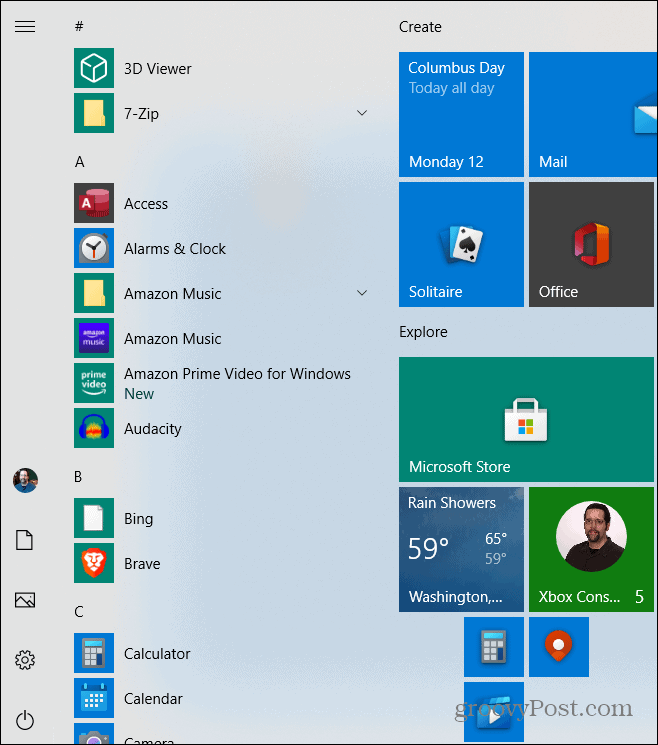
That’s all there is to it now the next time you open the Start menu the Recently added apps section at the top will be gone.
You will no longer have the reminder of recent apps you have installed at the top. But you can still find them in the All Apps list or by searching for them using the search box in the Start menu. And if you know which letter an app you are looking for starts with you can click one of the letters on the start menu and then search for the app by the letter it starts with. For more on that read our article on how to find apps by the first letter from the Start menu in Windows 10. This is a good way to get rid of some of the unnecessary items that Windows decides to put on your Start menu that you don’t need or want. If you want to turn it on again for any reason just go back into Settings and turn on the “Show recently added apps” switch again.


![]()
